
Testing changes to your mobile website can be tedious. This, and that Buttons, by default, do not render on your website when accessed from a regular desktop computer makes it even more difficult to know whether or not your Button is properly working in your mobile website.
In this tutorial, we're going to test that a web app is properly rendering a Button when accessed from a mobile device. To do this, we're going to do the following:
You can find the completed code in this Github repo.
In this guide, we're going to use a Node.js server to run our mobile web app, although any language and web framework (Flask, Sinatra, Rails, etc.) can be used. If you do not have Node.js installed, you can download it from here.
First, open up your terminal, create a new directory, and move into it
mkdir test_mobile_web_button && cd test_mobile_web_button
Then, initiate a package.json file
npm init
and click 'Enter' through the steps.
Next, install express
npm install —-save express
Create an index.js file, which will house our server code
touch index.js
Create a folder to house our views
mkdir views
Then, create a simple_button.html file within the views folder, which will house our HTML and the code that renders our Button
touch views/simple_button.html
Head over to usebutton.com and login. If you do not already have an account, you can sign up for one here.
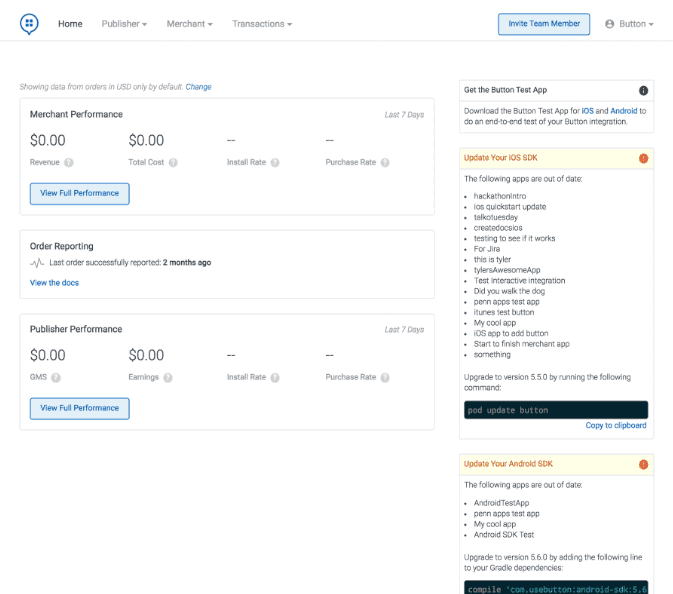
In the navigation bar, head to where it says 'Publisher' and then 'Buttons'. Then click 'Add a Button'. Give the Button a name and select 'Mobile Web' under platform. If you do not already have a mobile website added, add one where it asks where you would like to integrate a Button. Under 'Connections', click 'Add Actions'. Under 'Actions', select 'All'. Scroll down to where you see 'Uber' and click it. Scroll back up and click 'Save'. This will bring you to the dashboard for this Button. Here, you will see the Button ID, Application ID, and some sample code we will add to our simple_button.html file in the next section.
Take the sample code in the dashboard you were just routed to and copy it into your simple_button.html file, found in the views folder
<!-- simple_button.html --><br><br>window.ButtonWebConfig = {<br> applicationId: 'app-XXXXXXXXXXXXXXXX'<br>};<br>(function(u,s,e,b,t,n){<br> u['__bttnio']=b;u[b]=u[b]||function(){(u[b].q=u[b].q||[]).push(arguments)};t=s.createElement(e);n=s.getElementsByTagName(e)[0];t.async=1;t.src='<a href="https://web.btncdn.com/v1/button.js%27;n.parentNode.insertBefore%28t,n%29" target="_blank">https://web.btncdn.com/v1/button.js';n.parentNode.insertBefore(t,n)</a><br>})(window, document, 'script', 'bttnio');<br> data-bttnio-context='{ "user_location": { "latitude": 40.6827, "longitude": -73.9754 }, "subject_location": { "latitude": 40.7382869, "longitude": -73.9823721 } }'>
This code includes the ButtonJS library and creates an Uber Button that takes the user from one set of GPS coordinates to another. If you're taking the code directly from this guide, remember to replace where it says 'app-XXXXXXXXXXXXXXXX' and "btn-XXXXXXXXXXXXXXXX" with your application ID and Button ID, both of which are found in the dashboard.
Our server file will be pretty bare-bones. All it will do is run on our localhost 5000 port and render our simple_button.html file when a user goes to the URL that will be generated by ngrok.
// index.js<br>var path = require('path') var express = require('express')<br>var app = express() var port = process.env.PORT || 5000 app.get('/:html_file', function(req, res) {<br> res.sendFile(path.join(__dirname, 'views', req.params.html_file + '.html'))<br>}) app.listen(port, function() {<br> console.log('Listening on port: ' + port)<br>})
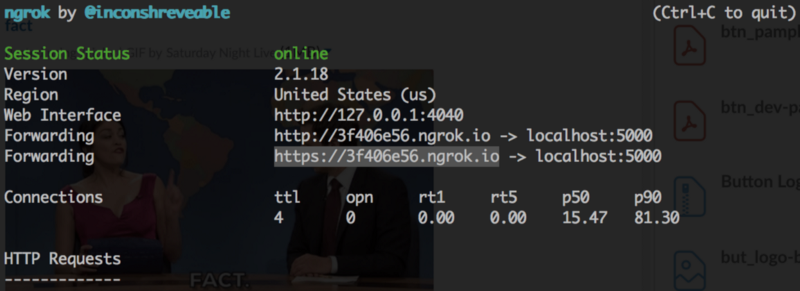
ngrok is a powerful tool that opens up your localhost to external web traffic, which is great for testing a website on your mobile device that is running locally on your computer. If you don't already have ngrok installed, download it here.
Navigate to where you have ngrok downloaded and run the following command
./ngrok http 5000
This will open up a connection to your localhost port 5000 through ngrok. In the terminal, it will log a couple things, but what we care about is the URL (Note: your URL will be different from this one, so use the one that ngrok gives you, not the one in this tutorial).
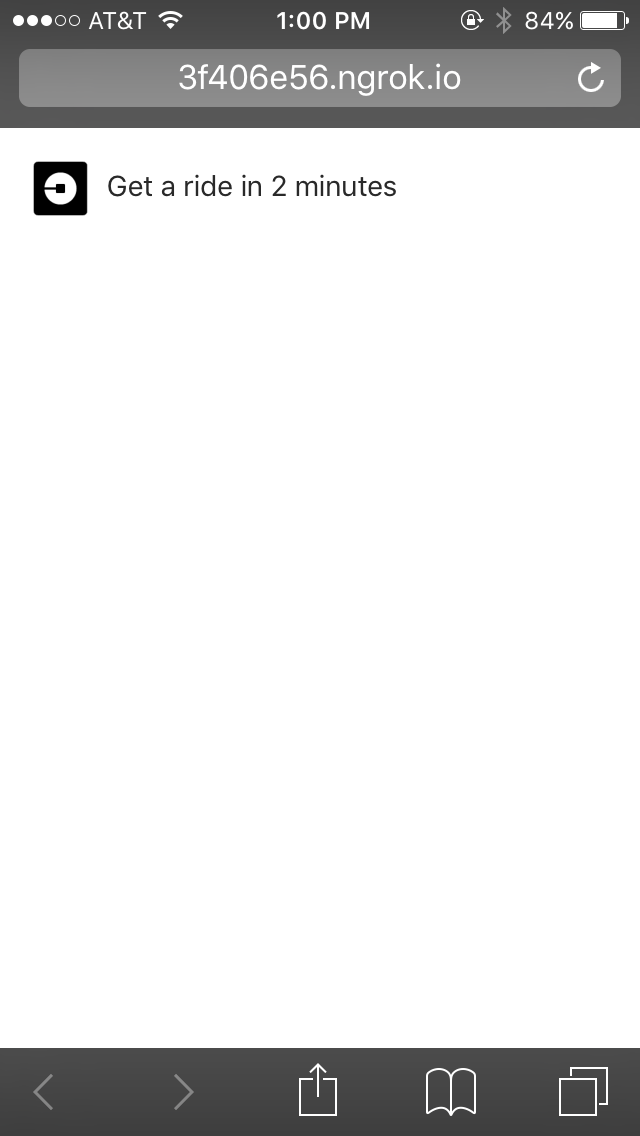
Get out your mobile device, open up your device's browser, and head to the URL ngrok is operating on at the endpoint '/simple_button'. So, for the URL in the above snapshot, you would go to 'https://3f406e56.ngrok.io/simple_button'. If all went well, you should see an Uber Button on the webpage.

.png)
.png)
